
【minecraft】マインクラフトのMod作ってみた Part2【forge】
こんにちは!nomurabbitです。マインクラフトのMod作成Part2です。
今回はアイテムを追加しますよー!
アイテム初期化クラス
最初に紹介するのはItemInitクラスです。アイテムを追加する場合は、このクラスに定義を増やしていきます。
ItemInitクラス
package com.nomurabbit.mymod.core.init;

import com.nomurabbit.mymod.MyMod;
import net.minecraft.world.item.Item;
import net.minecraft.world.item.ItemStack;
import net.minecraftforge.fmllegacy.RegistryObject;
import net.minecraftforge.registries.DeferredRegister;
import net.minecraftforge.registries.ForgeRegistries;
import net.minecraft.world.item.CreativeModeTab;

public final class ItemInit {

    public static final CreativeModeTab TUTORIAL_TAB = new CreativeModeTab(MyMod.MOD_ID) {
        @Override
        public ItemStack makeIcon() {
            return EXAMPLE_ITEM.get().getDefaultInstance();
        }
    };

    public static final DeferredRegister<Item> ITEMS = DeferredRegister.create(ForgeRegistries.ITEMS,
            MyMod.MOD_ID);

    public static final RegistryObject<Item> EXAMPLE_ITEM = ITEMS.register("example_item",
            () -> new Item(new Item.Properties().tab(TUTORIAL_TAB).fireResistant()));

    private ItemInit() {
    }
}
CreativeModeTab クラスのオブジェクトは、クリエイトモードでインベントリを開くと表示されるタブの定義です。今回は新たにTUTORIAL_TAB として定義します。
RegistryObject
アイテムの登録
次にMyModクラスです。このクラスでは、コンストラクタでイベントバスとItemInitを紐づけます。これでようやくゲームの世界からItemInitクラスで定義したアイテムにアクセスできるようになります。
MyModクラス
public MyMod() {
    // Register the setup method for modloading
    FMLJavaModLoadingContext.get().getModEventBus().addListener(this::setup);
    // Register the enqueueIMC method for modloading
    FMLJavaModLoadingContext.get().getModEventBus().addListener(this::enqueueIMC);
    // Register the processIMC method for modloading
    FMLJavaModLoadingContext.get().getModEventBus().addListener(this::processIMC);

    // Register ourselves for server and other game events we are interested in
    MinecraftForge.EVENT_BUS.register(this);

    var bus = FMLJavaModLoadingContext.get().getModEventBus();

    ItemInit.ITEMS.register(bus);
}
アイテムの名称、テクスチャ
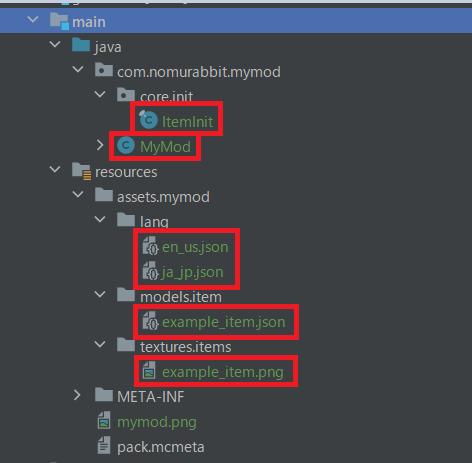
アイテムの名称やテクスチャを定義します。resources.assets.mymod.lang以下のファイルで、言語ごとに表示名称を定義することができます。英語ではExample Item、日本語では例のアイテムと表示されるようにします。
en_us.json
{
  "item.mymod.example_item": "Example Item"
}
ja_jp.json
{
  "item.mymod.example_item": "例のアイテム"
}
今回は1枚の画像をテクスチャとして定義します。example_item.jsonの定義はこのようになっていて、resources.assets.mymod.textures.items以下に画像を配置します。
example_item.json
{
  "parent": "item/generated",
  "textures": {
    "layer0": "mymod:items/example_item"
  }
}
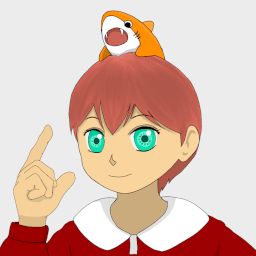
画像ならなんでもよいので今回はサンプルとしてこのようなアイコンを使います。
それでは、実際に動かしてみましょう。
実行
はい、このように新しいタブとアイテムが追加されていることが確認できました。アイテム追加の手順は以上です。
次回もぜひご覧ください。では!